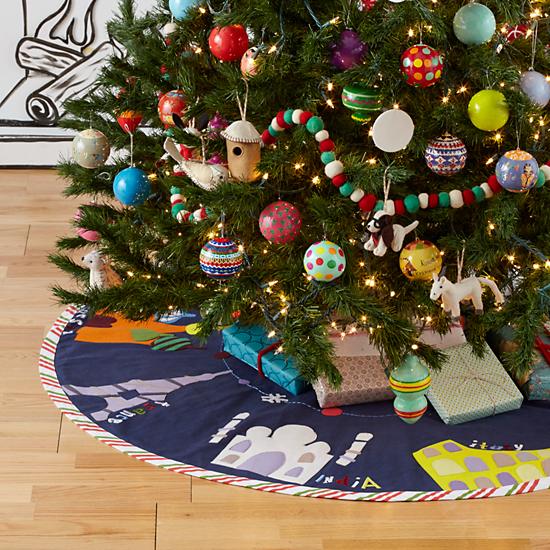
With all the traveling we've been doing over the last few years, and especially after our Germany trip, I decided to commemorate all the places we've seen with Christmas tree decorations. Decorating the tree hopefully in years to come will remind us of all the great travels. To go along with an international tree, I dreamt of creating or finding a tree skirt to fit the theme. The closest I came to one was from The Land of Nod:

I drove all the way to Orange county, but unfortunately in person the tree skirt looked a bit childish. I was back to square one, and I was a bit too tired to attempt to create my own tree skirt. Maybe next year--after I've taken up sewing, hehe. So I looked to other things to tie my tree together.
First, I looked up how to create a ribbon tree topper on YouTube--Super easy! The wire floral glittered ribbon was from Joann's. I bought two spools each of the two colors, and I had barely enough leftover to make a teeny bow to coordinate with my front door wreath that I got from Costco.


.JPG "Door Wreath with Bow")
My next idea was to create a tree garland with the saying "All Around the World." I initally thought I would just cut letters with my Cricut and attach them to raffia or fishing wire, but I thought I'd look first to see what ideas were out there in the world of crafting. I came across this awesome post--and I knew I had to try it. WARNING: getting the lights to stay in the holes of the letters is a lot harder than it looks. But again, the end result makes it worth it.
Step 1:
Cut out 3 inch letters using Cricut and glittered cardstock. The simpler the font, the better.
Step 2:
Punch holes about an inch apart along the letters.

Step 3:
Cut 1 1/2 inch strips of cardstock. Run a small line of glue down the middle of each strip beginning at one side and wrap the strip around the letters, landing the letter right in the center of the paper strip. Continue around, until each letter is fully lined. Let dry. I used small binder clips at times to keep the edges together as the letters dried.


Step 4:
Carefully insert the lights through the holes and then display on your tree. If I were to do this again, I might have tried a smaller caliber hole punch, so that the lights fit snug in the hole and don't slip out. For some I actually tried scotchtaping the strand of lights to the back of the letters as a last resort.

 |
| Loved the look of it against hardwood |


When is your TV show on?
ReplyDeleteWho is your photographer?