The problem with Christmas cards is that there are so many possibilities! The amount of different styles and techniques are almost overwhelming. I took my first online card-making class from my favorite card makers, and from there I got a few of my ideas. I've amassed a large collection of Christmas stamps, but I had to hold back and just focus on just one or two for this year.
I knew I wanted to create personalized cards for each of my recipients, and I had visions of using the stocking from the Stamps of Life Christmas2Build set, along with its coordinating die. I also wanted a brick background simulating a fireplace. I wanted the stockings to hang--I originally bought tiny clothespins, but later nixed this idea as it was not very snail-mail friendly. I also was determined to create a unique flip-it card, so I ended up using Sizzix Movers & Shapers L-Die cards in square and rectangle Flip-Its. These conveniently fit 2, 3, or even 4 stockings at once.
 |
| For those who don't know, these are the dies, or templates, which I used to run through my Sizzix Big Shot machine, in order to create the cool card bases. |
Step 1:
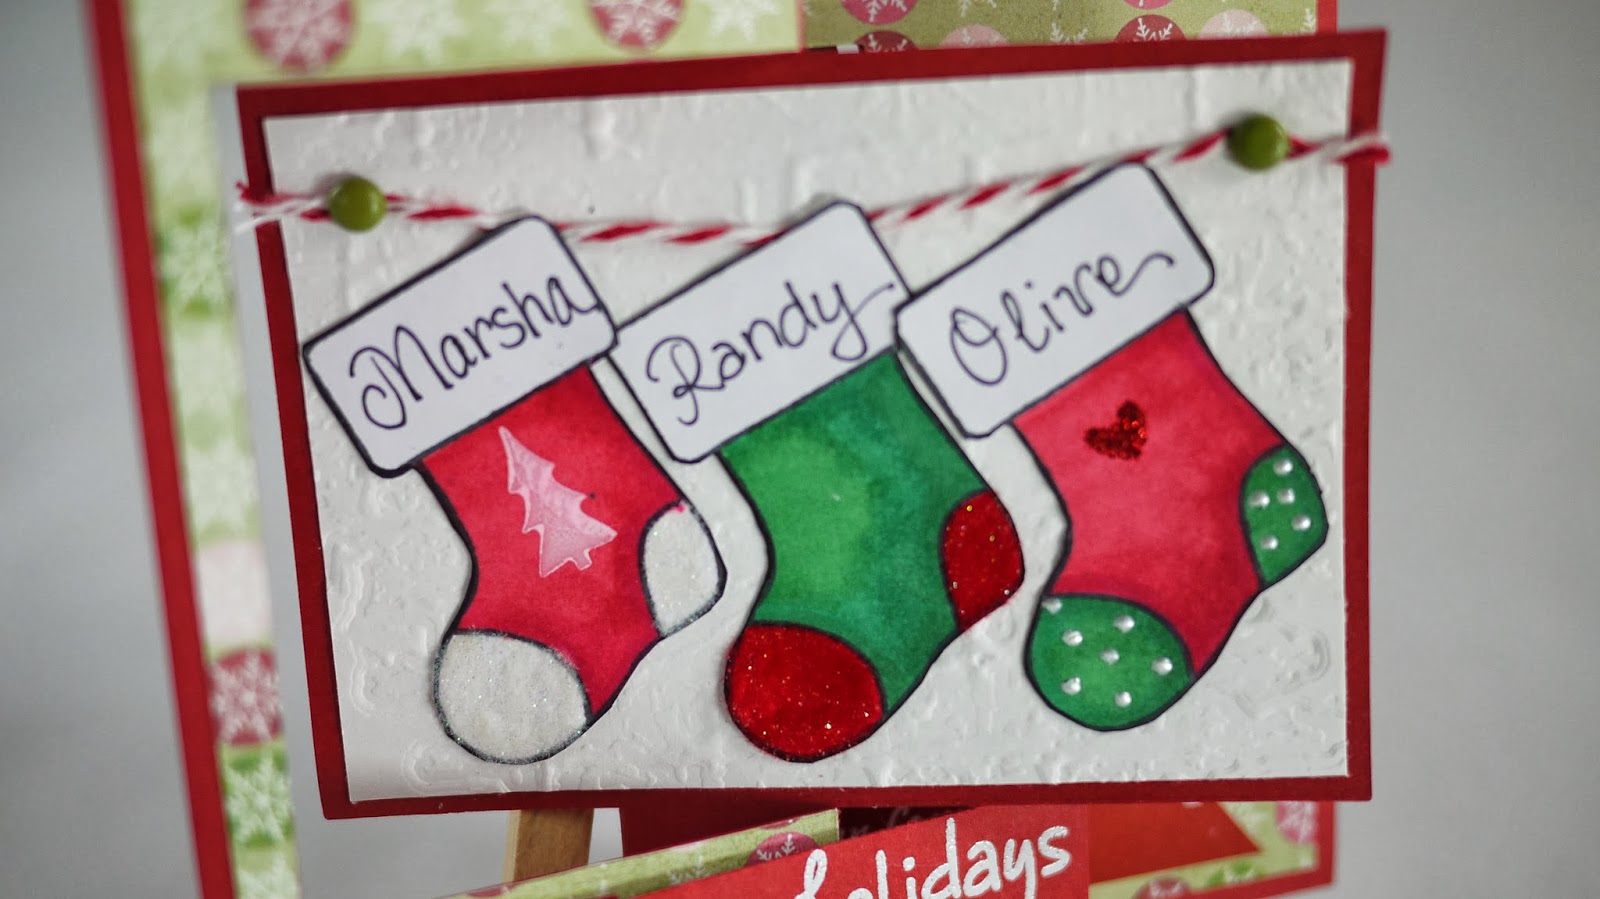
Stamp stockings...over and over...using black Memento ink and using my Fiskars stamp press to get as many as possible onto a sheet of Copic Blending xPress Blending paper.

Step 2:
Color the stockings with alcohol markers. Depending on the recipient I personalized the colors or design. For some I flocked with Martha Stewart flocking powder and glue. For others I embossed with gold powder. I added details with Uni Ball Signo pen, Stickles glitter, or Liquid pearls. For some I stamped trees or snowflakes with white ink.

Step 3:
Cut out stockings. I tried cutting them out at first using the coordinating die, but then I realized I didn't like the white border that would go around it (you can see a couple of these in the photo above). So I ended up cutting out each stocking by hand with scissors, and took a black marker to touch up the edges for a crisp outline.
Step 4:
Personalize with names. I originally flocked the area where the names were to go, but then I couldn't find a dimensional type ink/paint to write on top of the flocking. I got away with being able to write names just with a thin Sharpie. Later I stopped flocking the top of the stocking, and just directly wrote names onto the paper. It gave it a much cleaner look I thought.
Step 5:
Create card base using Bazzill cardstock, Sizzix Big Shot, and the Movers & Shapers L-Die in square or rectangle depending on how many stockings are to go on the card. These things are awesome--not only do they cut the card perfectly, they also score the card so it makes it easy to know where to fold the card. Unlike the new Framelit Flip-Its set, these don't have coordinating dies to cut layers for the card base. For this, I cut out more card bases using patterned paper from my 6x6 Christmas My Minds Eye paper pad and then trimmed the patterned paper to fit onto the card base. Assemble using adhesive running tape.
Step 6:
Cut either square or rectangles using white cardstock to fit on the panel of the card base. Dry emboss with Tim Holtz' brick background.
Step 7:
Cut piece of baker's twine to fit across the embossed white square/rectangle. Pierce holes on each side and use brads to hold twine to cardstock. Glue on stockings.
Step 8:
Glue white cardstock to folded card base.
Step 9:
Stamp sentiment onto strips of cardstock using Versamark. Heat emboss. Cut the ends to create the appearance of a banner. Using a technique that I learned from Jennifer McGuire in my Holiday Card Workshop, I created a banner that "extends" as the card opens.
Step 10:
Admire your work :)

 |
| For a Ghibli loving family |
 |
| Had to represent the 49ers |
 |
| Love the dimension one gets with these cards |


 |
| The card completely open, showing the extended banner |
 |
| This dog from Tiddly Inks looked just like my friend's dog, I couldn't resist adding him |


 |
| Had to try a Christmas card in non-traditional colors |


 |
| I tried to capture the brick background as best I could in this photo |


 |
| Made this card for all of my coworkers |
 |
| Created this personalized greeting using the new Stamps of Life alpha4banners set |

I could have stopped here. But I decided to keep going and create handmade envelopes. I basically had to, since I couldn't find 5x5 inch envelopes anyway. I got a 12x12 inch Christmas paper stack for 70% off at Michaels, along with my handy dandy We R Memory Keepers Envelope Punch board that I got 50% off during my Black Friday purchases.
.JPG "Custom 5x5 Envelopes")

Phew!! That was a loooong post! Thanks for reading!!
We loved our card- so creative!
ReplyDelete